Anne Boleyn (2017) process
- Spoeks

- 8 mei 2024
- 3 minuten om te lezen
Despite that this was my very first creation with a sewing machine, and I had nobody who could help me with this (or learn me about sewing, or sewing machines), I still think it turned out pretty good! I had made some photo's when I made this cosplay, and wrote down notes with them. And that is exactly what I will share with you in this post!

So first of all: the pattern I had used.

I used the Elizabethan pattern by Simplicity, pattern code: 3782And ofcourse, the fabric. I didn't keep track on how much fabric I used, but I believe I was fine with buying the recommanded yardage/meters that where adviced on the pattern!

I used cotton canvas, cotton jeans fabric, golden satin, felt and jacquard for this costume. The gold satin and the jacquard are the fashion fabrics, the cotton canvas, cotton jeans fabric and the felt where for the strenght layers.


I constructed the interfacing and lining of the bodice using the canvas and jeans fabric. Rigilene served as the boning material, adhering closely to the pattern. While I personally opted for creating individual cases for the rigilene, it's equally viable to sew it directly onto the cotton fabric.

I attached the jacquard fabric to the structured bodice interfacing/lining and crafted the bumroll as well. As for the bumroll, the process was straightforward: simply sew the pieces together, leaving a small opening, turn it inside out, fill it with fiberfill through the opening, and then neatly hand-sew the opening closed using a ladder stitch.

For decorations, I used a part of the golden satin, (plastic) pearls, and (plastic) beads. Looking back, it would have been much tidier if I had made bias tape from the fabric instead of simply folding over the edges. But as they say, with time comes experience and learning!So: you van learn from my mistake, or repeat it. That choice is up to you ;)
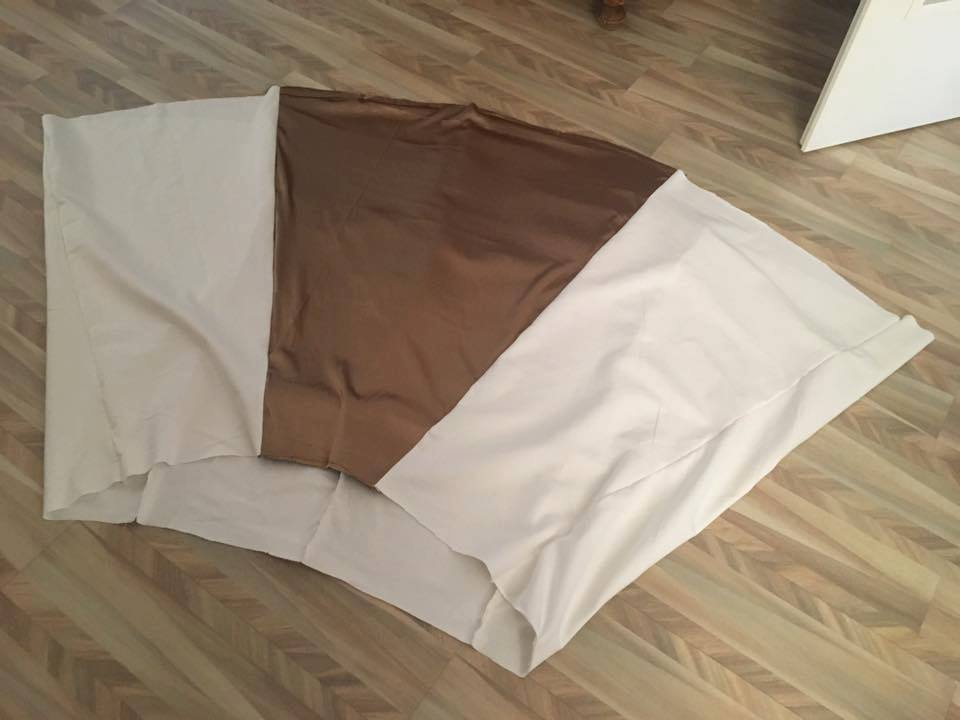
Using my pattern as a guide, I had crafted the underskirt. And obviously there are no pleats here yet. I kind of cheated on that with just simply adding an elastic band to the waist for ease and comfort. Given that my jacquard and satin fabrics are polyester, I didn't strive for complete historical accuracy. If historical authenticity is your aim, then polyester or elastic bands are definitely not the way to go!

Crafting the skirt according to the pattern specifications. This one will not be attached to the underskirt, but to the bodice!

Once the skirt is attached to the bodice, with the underskirt as a separate piece, the ensemble will take on a look similar to this. I love how it's all getting shape by now!

I created a pattern for the undersleeve myself, and it follows this design. To measure the elbow, I used a method similar to creating a half-circle skirt, but applied it to the elbow instead of the waist. The remainder of the pattern resembles a half-circle skirt, with one side longer than the other. The upper sleeve is based on the Simplicity pattern.

Creating the French hood involved shaping and fitting it. I crafted it using felt and canvas, adding jacquard to the front and satin to the back for a decorative touch. Additionally, I attached two satin ribbon-like pieces to the bottom of the French hood. These can be tied together at the back of your head, below your hair, for a secure fit. In the photo below you can see the overall shape when it's laying flat, to get a better idea on how to craft it.

This photo offers a clearer view of the construction process than the one where I'm wearing it. You can observe the needles and thread, as well as the decorations awaiting cutting, this shows how it was decorated. Once again, the decorations required some time with the hand-sewing.

And here we have 4 selfies of the very first fitting I did in this dress! After this I did the hemming and finished of some of the edges. Years later I also serged the open inside seams for a more finished look. I hope this post was usefull and informative for you!


Opmerkingen