Olga cosplay tutorial
- Spoeks

- 24 jul 2024
- 5 minuten om te lezen
One of my most comfortable yet most elegant cosplays? It has to be Olga!
Join me in this blog post as I take you through the process of creating this lovely dress.
If you're as excited as I am, scroll down and enjoy the journey!


I know diving into the sewing is the most thrilling part, but let's not overlook the other essentials! Right above you'll see wich pattern I used as the base to create this cosplay: Simplicity 4092

Since I like to keep my patterns reusable (you never know if you'll need them in another size later on), I never cut directly into them. Instead, I trace them using pattern paper.
Don't forget to note down important information as well.
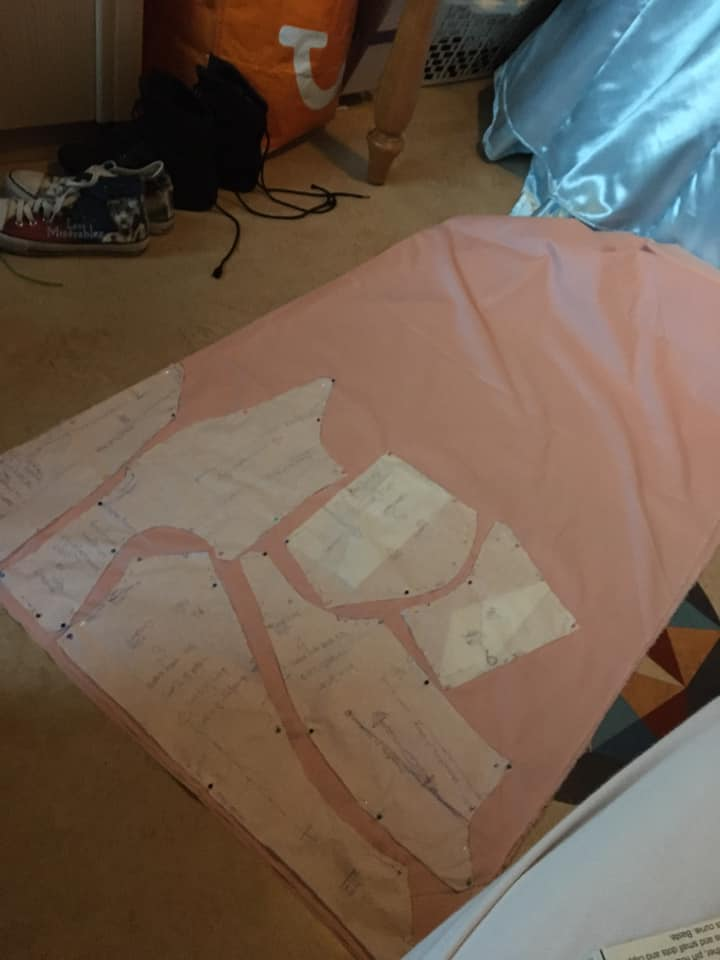
Once I trace and cut out the pattern pieces, I lay them on the lining fabric. For this project, I chose a light pink 100% cotton fabric for the lining. Then you can start to cut out the lining pieces.


Since a single layer of cotton won't be strong enough, I'll also add an interlining. I'm not entirely sure what fabric I used for this, but I assume it's either cotton denim or cotton canvas. Next, you'll attach the interlining to the lining.

Once the lining and interlining are sewn together, it's time to create the boning channels. I prefer to mark them with a special pen that has disappearing ink before sewing, but you can make them in any way you like.
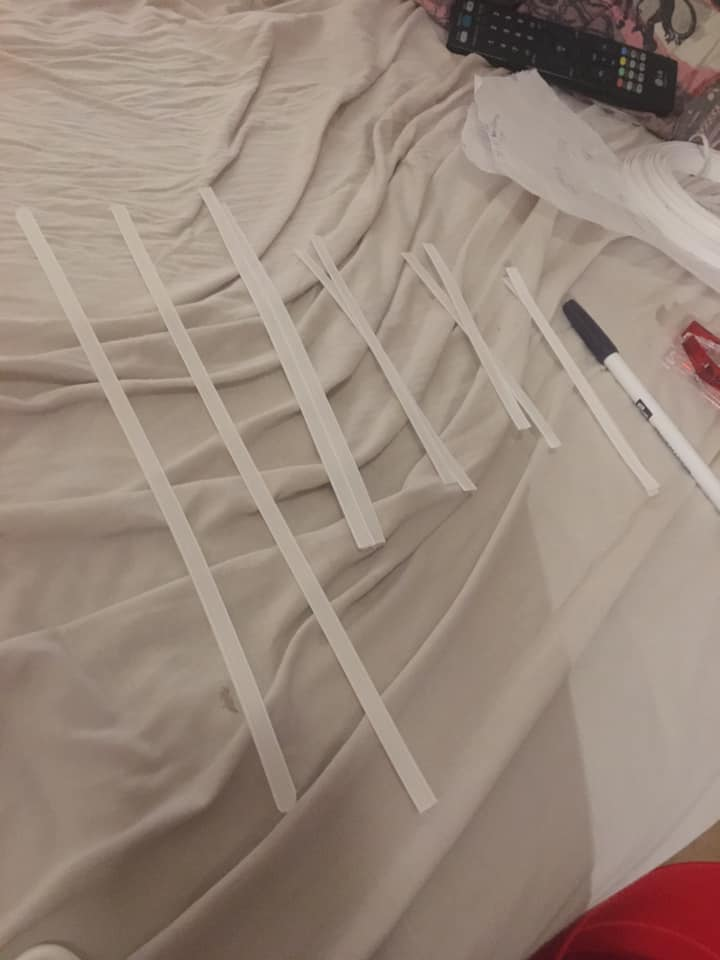
Next, I cut out my boning pieces using rigilene boning. Since they came on a roll, I needed to iron them flat. In hindsight, I think it would have looked prettier with spiral steel boning or synthetic whalebone and a lace-up back instead of rigilene boning and a zipper. However, rigilene and a zipper allow for quicker and easier dressing, making the garment feel less restrictive and lighter. Plus, rigilene is much cheaper. So, each option has its pros and cons. I'll leave the best option up to you.


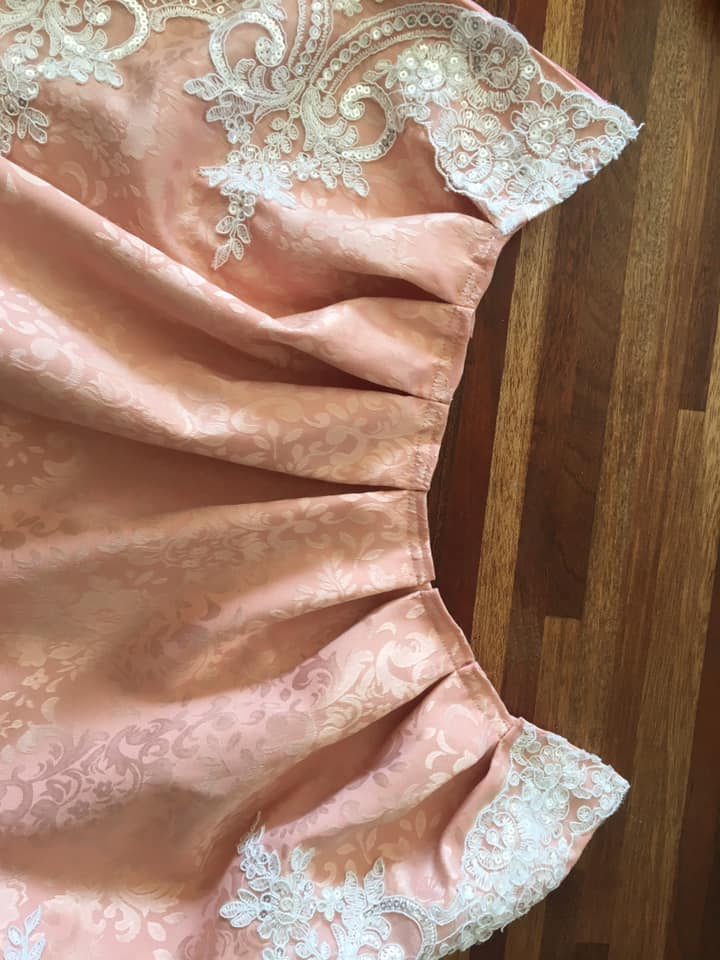
I sewed on the first decorative ribbons by hand. I avoided using the machine because it doesn't handle sequins well 😂😂. Hand sewing also gives you more control over hiding the stitches, wich I personally find way prettier and more proffesional looking than visible machine stitches. However, handsewing does take a lot of time. These pink laces alone took me 3 hours to sew on!

And once the first lace has been sewn on, we'll continiue on with the other decorative layers. By now, 3 layers of lace have been handstitched to the ‘side’ of the front pannel. And 1 layer of pink and gold ribbon is machine stitched to the middle.

Then I sewn on the,, well honestly I forgot what it's called. Normally it would be a loose piece of clothing, but in the musical they looks sewn on. So I decided to follow the musical and do that as well.

Razzle dazzle them! It's time for sparkles! Using E6000 glue, I attached rhinestones to the trim for some extra glamour. I love this part a lot to be honest.

I forgot to take photos of the skirt, but here’s a quick rundown: I sewed the skirt according to the pattern and added pink satin fabric to the bottom and sides of the front for decoration. I’m currently hand-sewing decorative lace onto it, again trying to keep the stitches invisible as possible.

By now, all the lace and ribbons are hand-sewn onto the bodice and skirt. Next, I sewed the skirt to the bodice using my sewing machine. You can already see her take shape!

Since I didn't have a pattern for the sleeves, I estimated what they should look like when flat and created a mock-up. Fortunately, my initial guess was spot-on!

The next step was to transfer the mock-up pattern to the fashion fabric and the thick satin lining. I then created the base sleeves and began adding decorations. I pinned and hand-sewed the lace onto the sleeves, making sure not to sew through the lining.
In hindsight, it might have been easier to sew the lace to the fashion fabric before attaching the lining, which is my usual method. I don’t recall why I chose a different approach this time.

Once the lace was sewn on, I carefully trimmed away the excess lace.

And here’s how the finished 'big' sleeve looks. The first one took me about 20 hours to decorate, while the second one took around 12 hours. This shows that even though it can be time-consuming, you'll become faster as you go along.
Then I started making pleats in the ‘big’ sleeves, so the top has the same size as the bottom of the ‘small’ sleeves. You can also choose to gather the fabric instead.

Attach the large sleeves to the smaller sleeves so that they are securely fastened to the bodice. I did not keep progress photos of the underskirt, but the methods remain the same.
You can just follow the pattern instructions and then decorate to your own desire.

I started on the kokoshnik by first creating a paper pattern. After finding it a bit too large, I adjusted it and made a smaller fabric version.

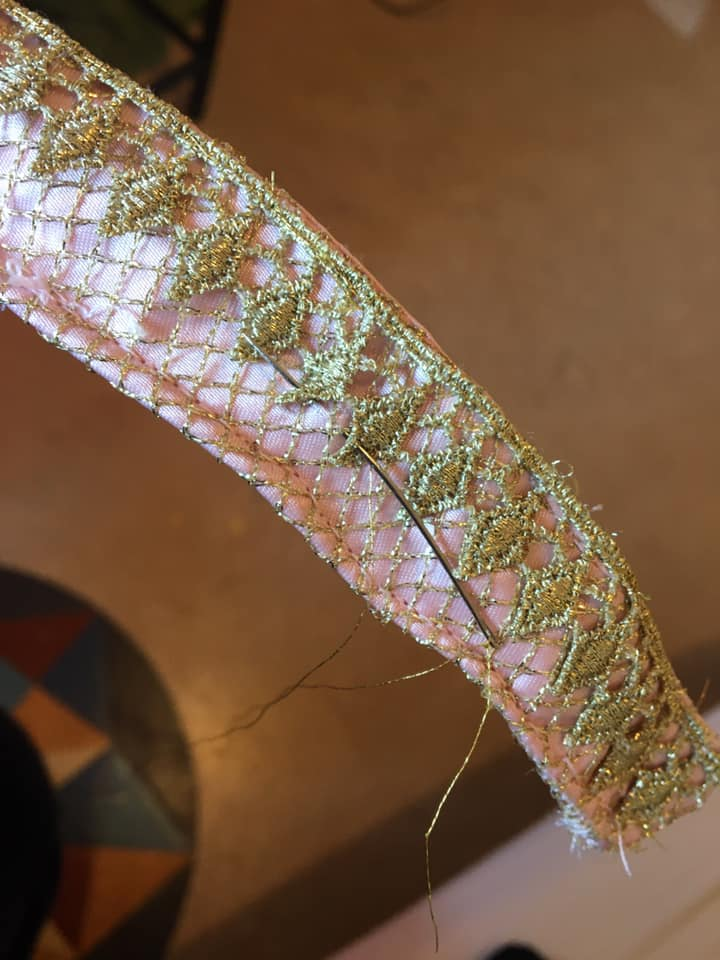
Sewing the gold lace to the pink satin

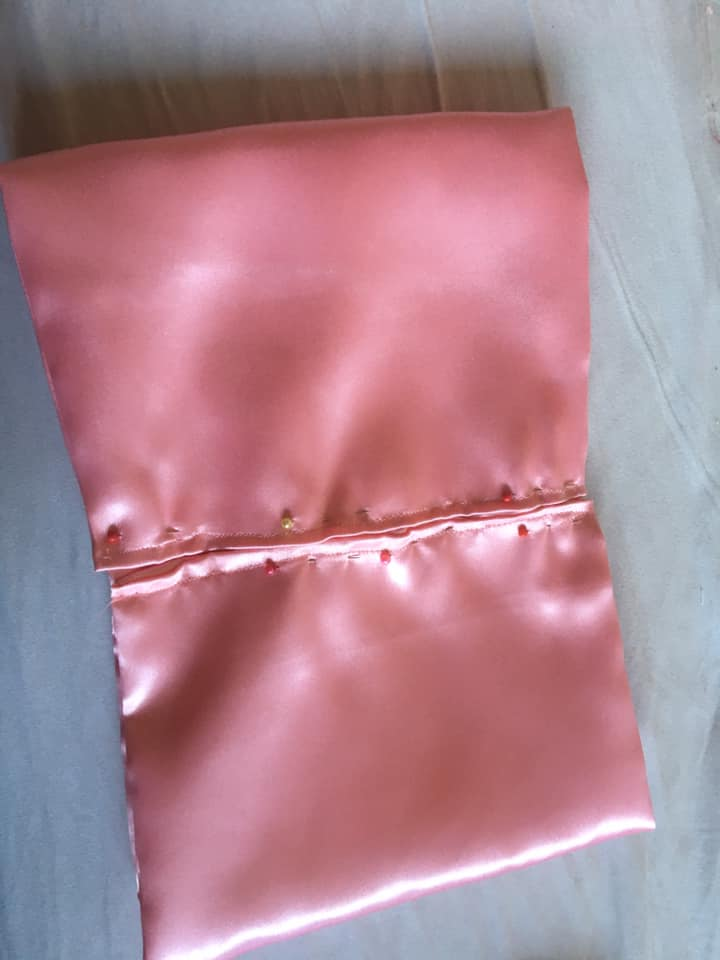
I sewed the front to the back of the kokoshnik, incorporating fusible interfacing for added stiffness.

Don't forget to press down the seams! This WILL make a big difference.
Create a slightly smaller kokoshnik interfacing using the sturdiest fabric you have (I used left over corset coutil) and sew wire into it.

Tuck the stiffened interfacing inside the kokoshnik and finish the edges. You can turn them in, use a serger or biaistape for this.
And well, I guess it's no surprise that the next step is handsewing on decorations?
Again: be carefull to only go through 1 layer of fabric.

To make the bow, sew two rectangles together with the right sides facing each other, then turn it inside out. Don't forget to finish the open edges as well.
Then, fold the edges of the rectangle towards the center as shown in the photo above, and sew it closed.

Press the center of the rectangle together to shape the bow and sew it to hold its form. For the middle of the bow, create a small rectangle by sewing two pieces together with the right sides facing each other, then turn it inside out. Don’t forget to press it for a nice finish!

Create another rectangle using two fabric pieces and sew it to the back of the bow to form the tails. Finish the bow by sewing the center rectangle over the middle of the bow and it's tails, securing it at the back. You can either attach a hairclip between the center rectangle or sew it directly onto the kokoshnik.

Do a final fitting to ensure everything fits correctly, works as it should, and feels comfortable.
A few additional notes not covered in the tutorial:
The white ribbon on the bodice was decorated with brooches.
I bought a pink ankle-length petticoat to wear underneath the cosplay.
I used clip-on earrings since I can't wear regular ones.
Pink T-strap pumps are very hard to find.
Get a backup pair of white opera gloves, as they get dirty easily and are difficult to clean.

And with that, I’ve shared everything I have about creating my Olga cosplay. I hope you found it enjoyable and useful for your own sewing or cosplay projects. Stay tuned for more tutorials in the future, and don’t forget to follow me on Facebook and Instagram under Spoeks Cosplay!
Thank you for reading!


Opmerkingen